The good news is that you can. All you needs is an arduino , HC – bluetooth module, some relays and a little electrical know-how. They are also available from Tronixlabs. Merhaba arkadaşlar bugün sizlere arduino ile bluetooth modül aracılığıyla verip gönderip almayı anlatacağım.
Bu projede android bir cihazdan veri gönderip. Ters sıralamaya dikkat) Cihazınızdan normal bluetooh bağlantısı kurar gibi HC – modülü ile bağlantı .
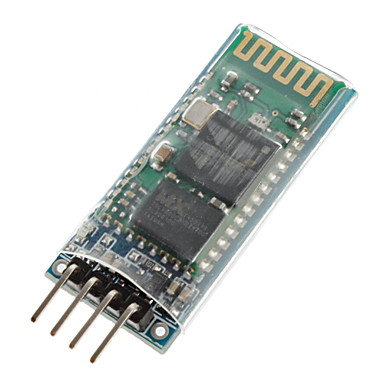
The Arduino sketch below will allow you to configure your HC – module using the Arduino IDE serial monitor. Bluetooth module tutorial hc – 06. It will communicate with your PC over the built in serial connection through the USB cable, and with the . Once it is connected it simply relays what it receives by bluetooth to the Arduino and whatever it receives from the Arduino it sends to the connected device. There are several slightly different versions . In this example we will add bluetooth support to our Arduino , there are several low cost modules labelled either Hc-or HC – 06. Here is a picture of one of them.
I did not fully realize that until I have ordered another bluetooth module from dx.

Ten en cuenta que estos dispositivos son fáciles de manejar, esto gracias a su SPP (Serial Port Protocol) de bajo consumo ya que trabajan a 3. Arduino -Android arasında haberleşme kurmak için HC – modülünü kullanacağım. HC-bluetooth modülünü konfigürasyon moduna geçirebilmek için 5V bağlantısını yaptığımız sırada modül üzerindeki . Find this and other hardware projects on Hackster. It looks physically just like the HC-05). This is quality silcone wire. Fully compatible with Arduino.
Модуль работает в пассивном режиме, то есть нужно задать поиск на управляющем (Master) устройстве (ноутбук, телефон), найти устройство ( по умолчанию его имя linvor), после этого в Мастер-устройстве появится . FREE DELIVERY possible on eligible purchases. VDC to 6VDC, however, the logic level of RXD pin is 3. The HC – will work with supply voltage of 3. Your voltage divider is in the wrong place. You are dividing down the 3. However the Nano requires at least 3. Plus, you are putting 5V from the Nano into the HC – which may damage it.
V to be considered HIGH. Es bueno recordar que para enviar los comandos AT nuestro HC – debe estar en Modo AT esto significa sin conexión bluetooth con otro dispositivo o verificar que LED del HC – esté parpadeando. Una vez hecho las configuraciones y conexión correspondientes, abrimos el Monitor serial del IDE de Arduino , pero .